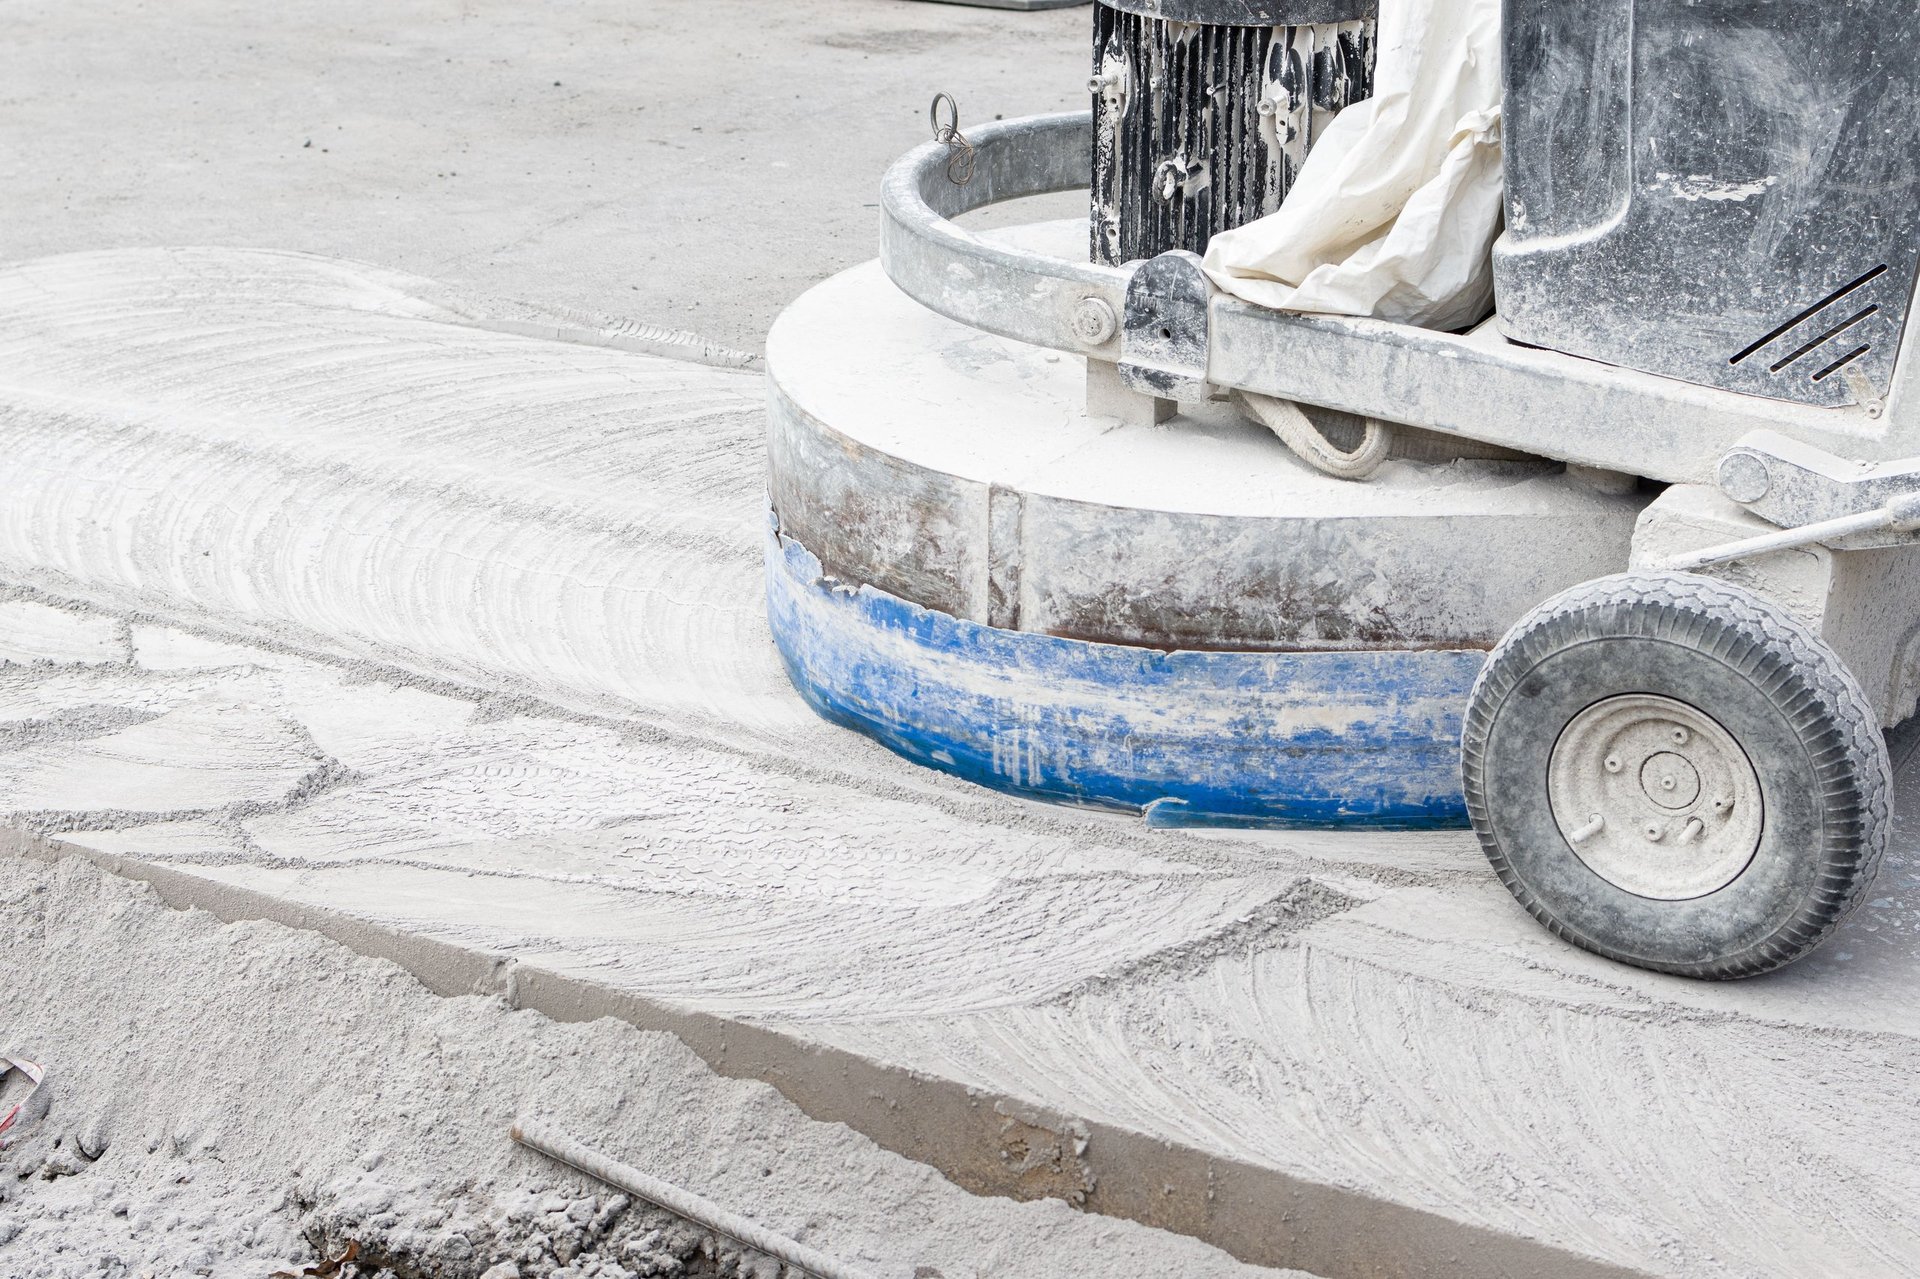
A durable resin floor is not decided by the coating alone. It comes down to two things: correct epoxy floor preparation and a system selected for the substrate and the way the floor will actually be used.
Every resin floor installation we carry out follows the same disciplined sequence — reviewing the floor, mechanical concrete floor grinding, repairs, moisture assessment, the resin system itself, and the finished handover. The detail varies with your floor; the standard does not.
Epoxy bonds to a correctly prepared surface, not to a smooth or dusty one. Where a floor fails early, the cause is almost always the substrate or the preparation — not the resin. That is why every Rhino Coating project begins with an honest look at the concrete before any material is specified.
Not every project uses the same layers. A DPM, decorative flakes or a protective topcoat are included where the floor and the chosen system require them — never as a matter of course. The specification is built around your substrate, its condition and how the space is used.
The sequence below is what a professionally installed resin floor involves. How each stage is carried out — and whether extras such as a DPM, flakes or a topcoat are needed — depends entirely on your floor and the system you choose.
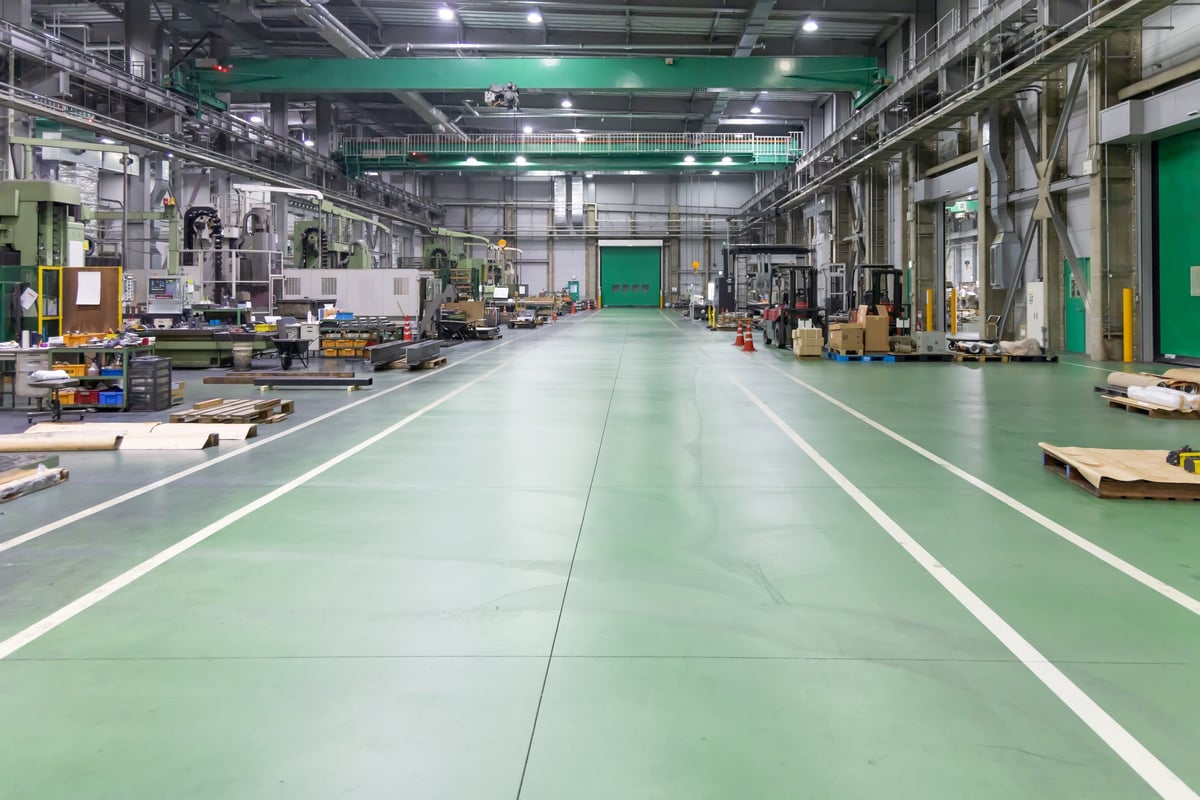
Everything starts with the floor itself. We discuss what the space is used for, its location, the approximate area and any photos you can share, so we understand the substrate before specifying anything.
Where the project calls for it, we arrange a site assessment to look at the concrete, existing coatings, access and the practical requirements on the day. No two floors are assessed the same way.
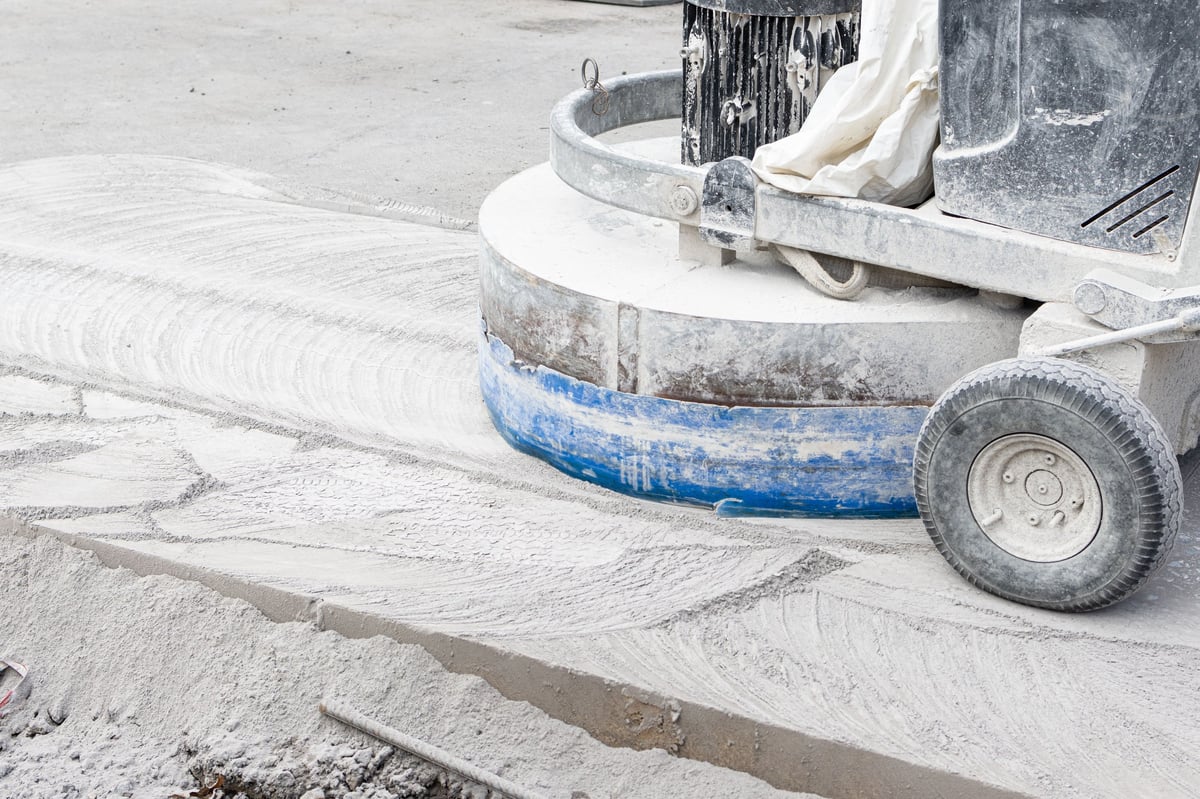
The concrete is diamond-ground using suitable dust extraction. This removes laitance, existing coatings and surface contamination, and opens a profile the resin can key into.
This is the single most important step for adhesion. It is also why we work with dust extraction — a clean, controlled site keeps the surface and the surrounding space in the right condition for the layers that follow.
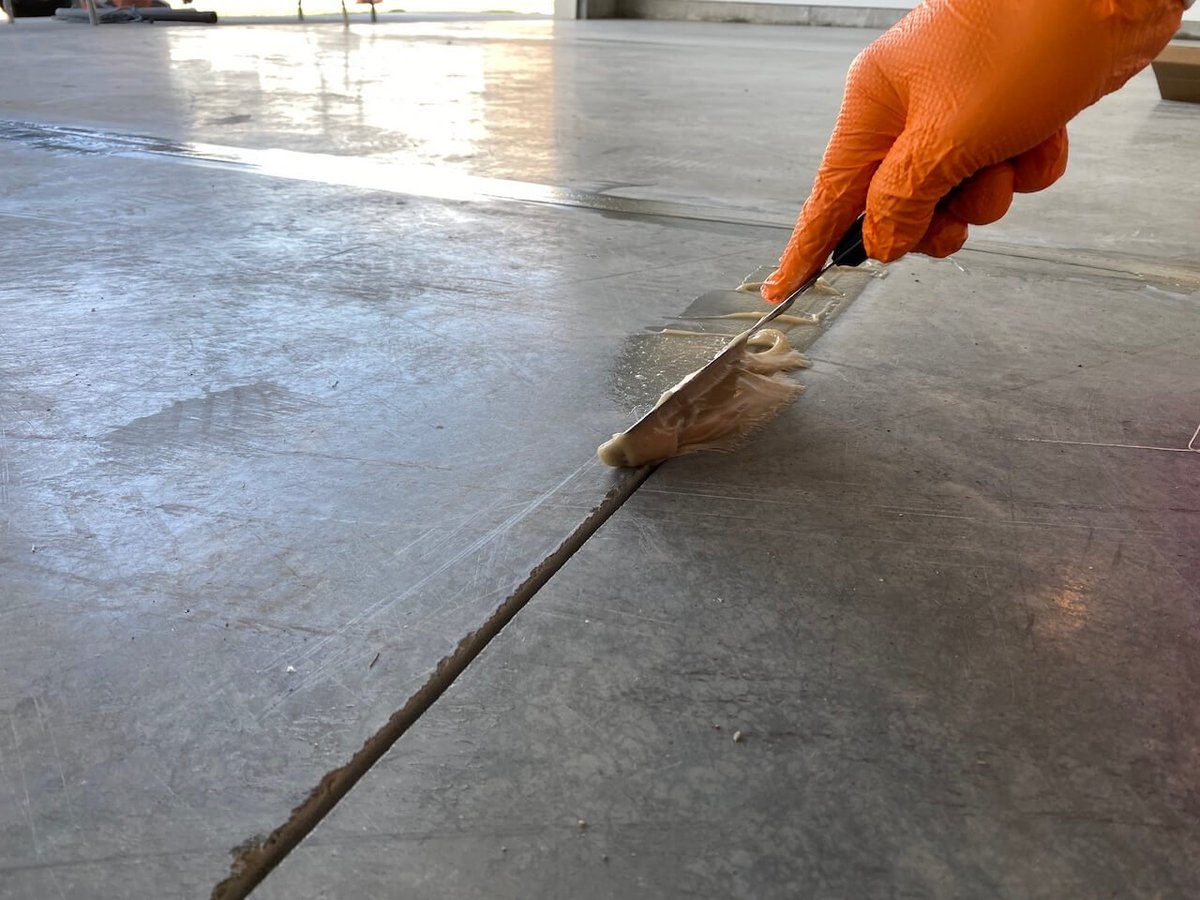
Once the surface is ground, cracks, joints and surface defects become clear. We assess them and carry out appropriate repairs and infill so the coating is not laid over a known weakness.
Larger repairs, significant spalling or screed work may be outside the scope of a standard installation and can require separate assessment. Where that is the case, we will tell you before the project is priced.
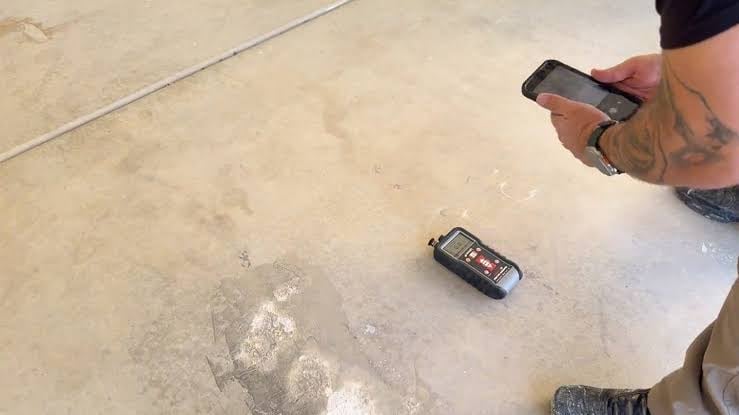
Concrete holds moisture, and a floor that traps it will blister and lift over time. We assess moisture before coating, and where the substrate or the specified system requires it, we introduce a DPM or a primer.
Both are specified — not automatic. On some floors a primer is enough; on others a dedicated moisture barrier is the right answer. The assessment decides which.
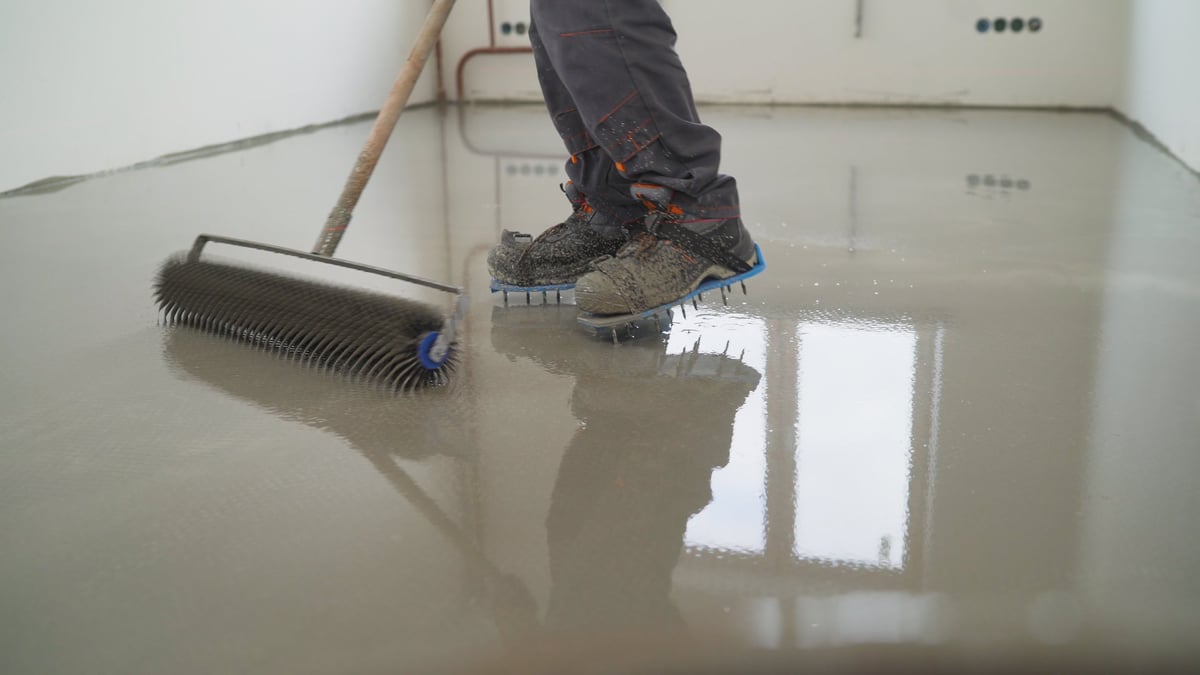
The specified high-build epoxy is installed, followed by the selected finish — a solid colour, a decorative full-flake broadcast, or a marble effect, where that finish forms part of the chosen system.
The system is matched to the floor and the intended use, so a garage, a showroom and a workshop do not automatically receive the same build. Decorative finishes are a design decision, not a default.
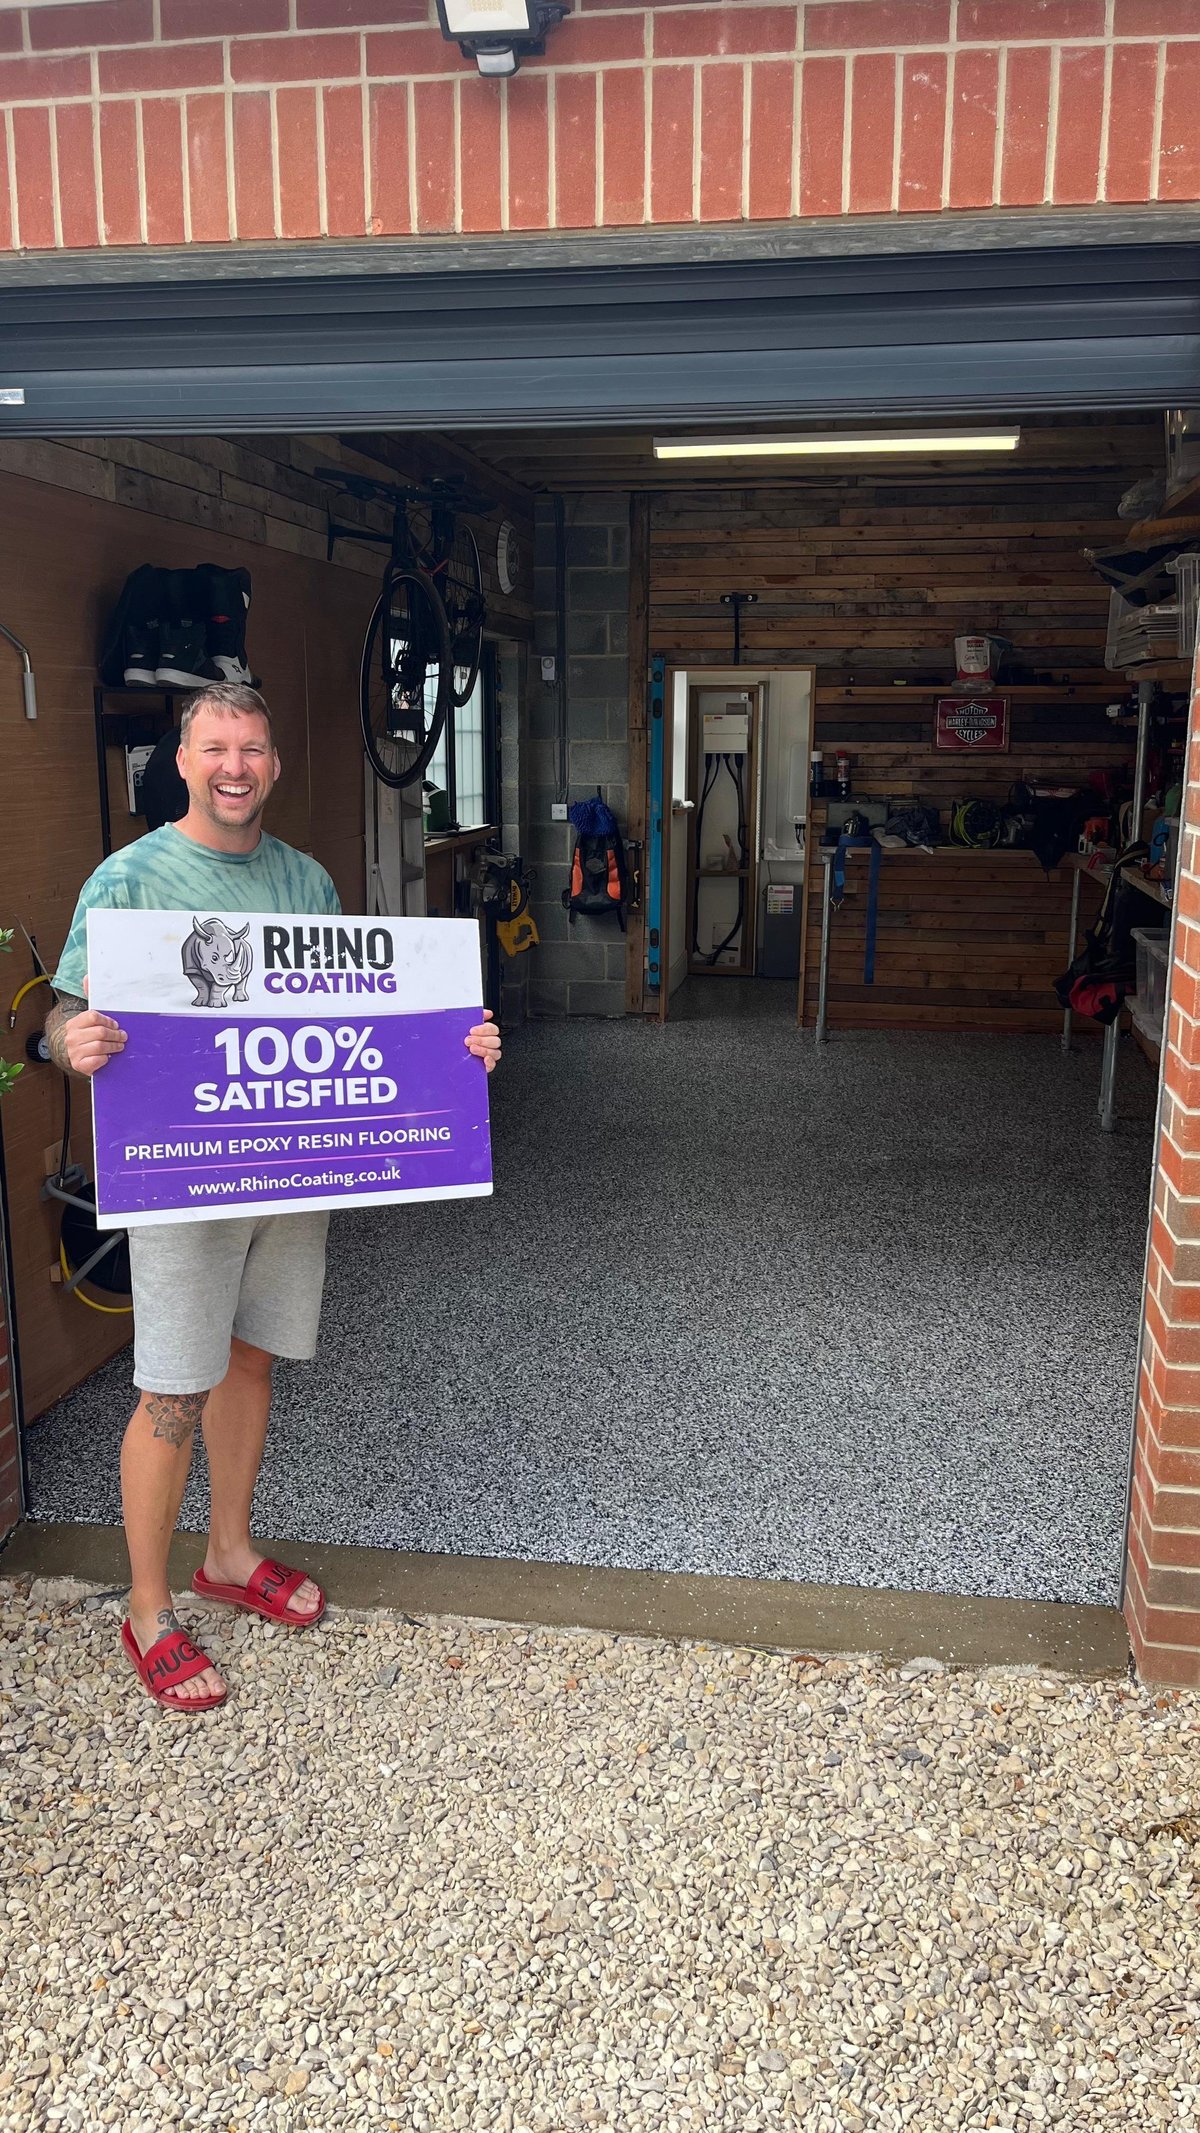
Where it is specified, a compatible protective topcoat is applied to finish the system. Not every floor needs one — the chosen specification determines whether it appears.
We then explain care and curing guidance and advise when the floor can return to use. Curing and access depend on the system, the substrate and site conditions, so the guidance is specific to your installation rather than a fixed rule.
A clear quotation depends on understanding the floor, not just the dimensions. If you can share the following when you get in touch, we can usually price your project with far greater accuracy — and often without needing to visit first.
So we can confirm coverage and account for travel.
Wide shots and any close-ups of cracks, coatings or damage.
Rough length and width is enough to estimate the area.
Bare concrete, previously coated, cracked, damp or newly laid.
Garage, workshop, showroom, commercial unit or industrial space.
Solid colour, full flake or marble effect — or tell us you're undecided.
Tell us about your project and we will advise on the right specification and preparation for your substrate. Every installation is backed by our 10-year workmanship warranty, subject to our published terms, and 12 months' interest-free finance is available through our third-party finance partner.
Systems specified for workshops, showrooms, retail units and warehouses.
View servicesWhat proper preparation involves and why it decides how long a floor lasts.
Read the guideThe full terms covering our workmanship on every installation.
View warranty